GoPro Camera Case Organizers
I’ve taken up 3D printing with the intention of making and selling my ideas. I’m fascinated by the process of making things efficiently and 3D printing is a complex process which, once set up correctly, can produce quality parts with minimal time input. I watched a lot of YouTube videos and learned that there is no secret to producing quality parts reliably – it is all in the preparation and attention to detail. This means that there is a significant up-front investment in equipment, time and materials before you can reliably deliver a quality part first time, on-demand with minimal or no refinishing needed on the parts.
I started with a Ender-3 Pro printer. This printer – and it’s brethren the V2 and the original Ender 3 – are a good starting platform. It is not particularly fast but it is highly customizable and parts availability is simple. Careful initial assembly included skimming the ends of the pillars in the mill as they were slightly off-square. I built an enclosure to keep the printer clean and help with temperature stability and added an Arduino with Octoprint and a camera, remote power control and a smoke detector so the printer can live in the garage and be controlled remotely. I started with Comgrow PLA and found that it sticks well to the standard magnetic bed that comes with the Pro.
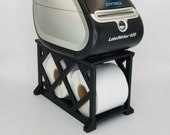
My initial product design was a stand for the Dymo 450 label printer. As usual, I’m not great at pulling ideas out of the air for what others may need, but I think I’m pretty good at designing things for myself. Where my needs overlap what other people need I have an opportunity for a product. I quickly learned that hiding vertical seams is a big problem with products like this and I worked out some tricks with the Cura slicer and the design to hide them in out of the way places. This product was printed in 4 parts in about 12 hours and then needed assembled and glued. I didn’t sell many – the Dymo 450 is out of production and nobody wants the upgraded 500 series printers as they only work with the overpriced Dymo labels. Ironically I just sold one of my 450 printers for more than all the stands that I sold!
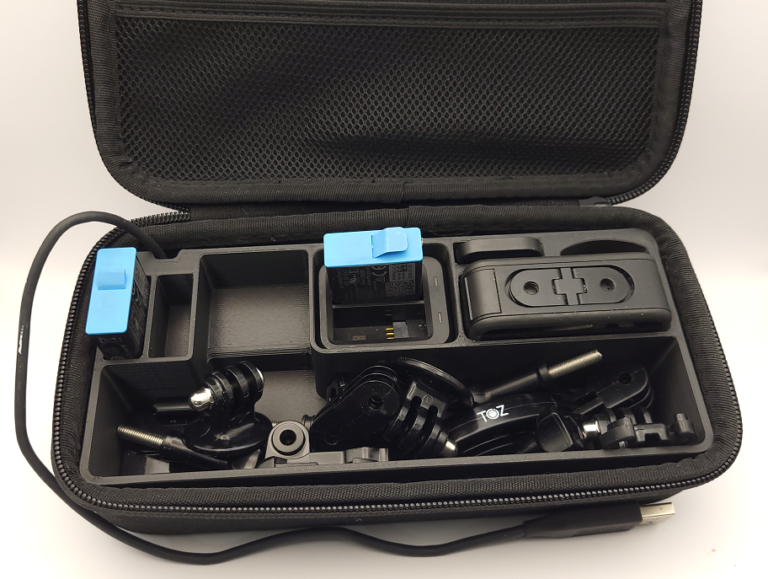
To support my YouTube hobby I was gifted a GoPro camera which came in a very nice case which lacked any kind of organization. I designed an organizer for it that I could keep handy on the bench, using what I had learned. These started to sell in reasonable numbers and customers started to ask for alternate designs and higher heat resistance. A product like this is going to often be left in hot cars and PLA warps at 140F. This meant I needed to support another material and PETG is the next step up. Upgrades to the printer to support PETG now include:
- Splice Copperhead all metal hot-end
- all metal extruder
- Capricorn bowden tube
- Eibos Easdry filament dryer
- Minimus dual fan setup
- Dual Z kit (single driver)
- nozzle cleaning brush (clean after each layer for PETG)
- Magigoo bed goo
- CRTouch auto bed leveler
It took a lot of trial and error to get the process to work reliably for every print for both materials. In order to print these parts in a reasonable time – they use about 170g of filament – I started with the Filament Friday super-fast Cura profile and then dialed it back and tweaked it until all the artifacts are either gone or very hard to see. To account for the different materials I moved all the material-specific settings into the material config files – this takes some work with a text editor.
I switched to Polymaker filament – Polyterra Matte PLA and Polylite PETG as it has a wider color range, has good reviews and and seems to have consistent availability via Amazon. I like the matte finish.
To handle the different design options I reworked my Fusion 360 design file so that I can suppress and unsuppress different groups of operations so I can now build 8 different designs from the same file, which are then sliced for each of the materials. The biggest tips I have on designing for 3D printing are:
- Design to avoid supports
- If you must have supports, design a shell extrusion into the part
- Fillet in XY
- Chamfer in Z
- Avoid holes if you don’t need them.
- Align your design thicknesses with the extrusion width and height that you are going to use.
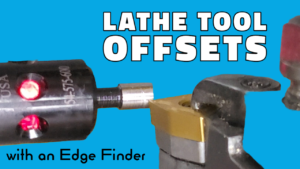
Lathe Tool Offsets with an Edge Finder
My method for setting lathe tool offsets in LinuxCNC uses an electronic edge finder designed for the mill. This has an accurate 0.2″ cylinder on
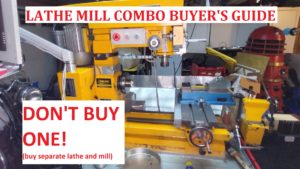
Combo Lathe Mill Buyer’s Guide
I’ve run up a short video sharing my thoughts on the Lathe Mill Combo format of machine tools. The short version is: if you are
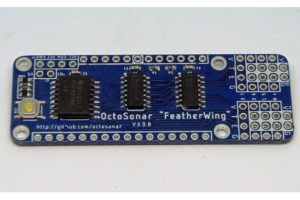
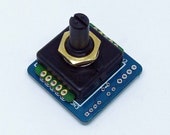
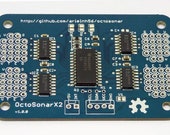
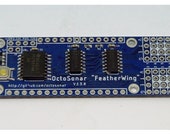
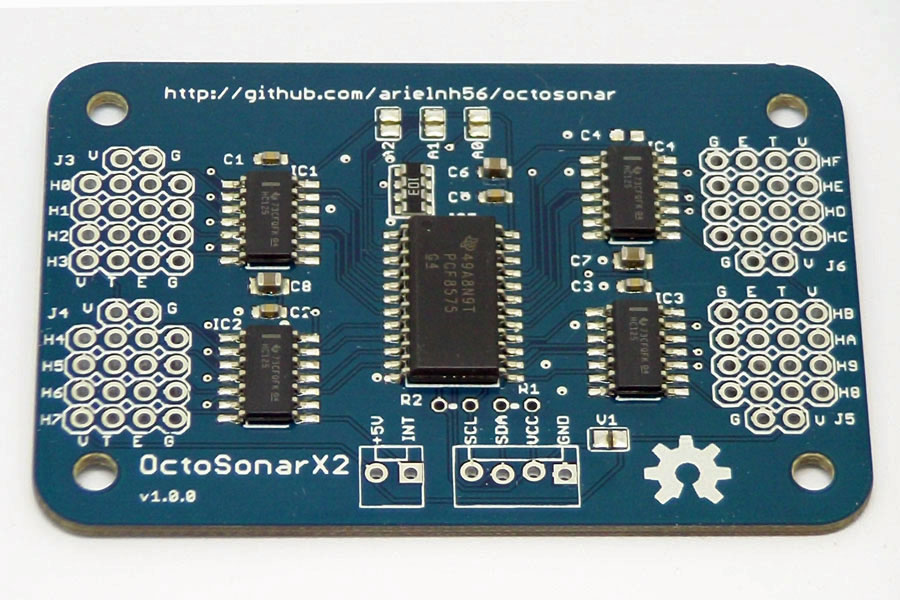
Octosonar Manufacture
These Octosonar modules interface with Arduino and support up to 8 HC-SR04 ultrasonic sensors on the I2C bus plus one hardware interrupt pin. I’ve made