It quickly became clear that it would not be possible to smooth out all the dents until the metal had an approximately consistent thickness. Some of the previous repairs consisted of overlay patches and lumpy welding. On the other hand, making accurate patches for a lumpy and distorted part was not going to work.
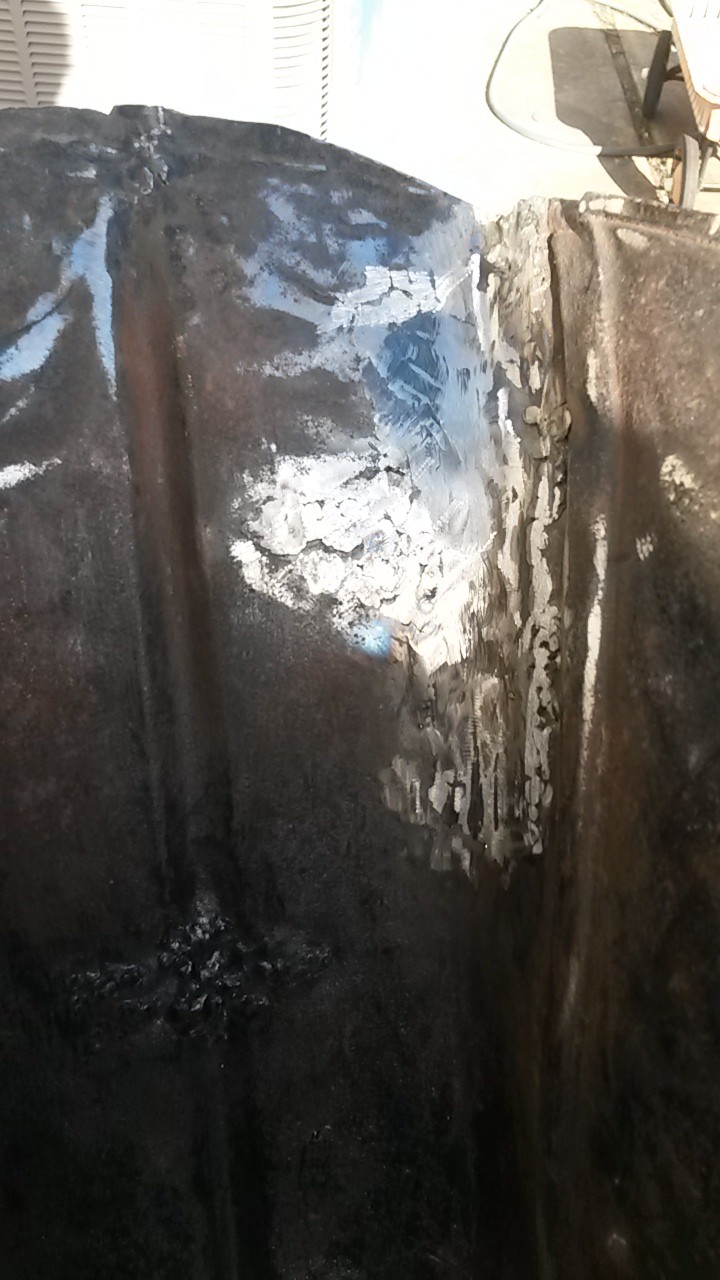
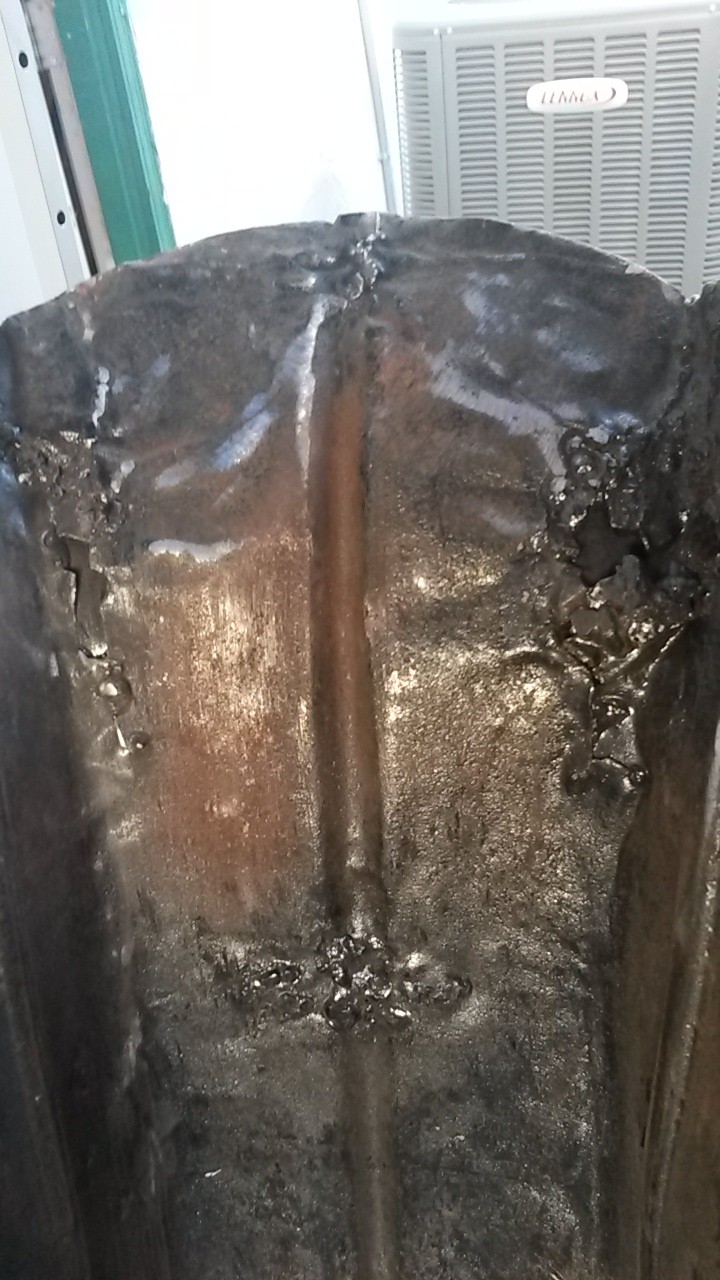
I attacked the worst of the old repairs first. These were overlay patches at the rear where a bracket to support the front stand was secured with two rivets.
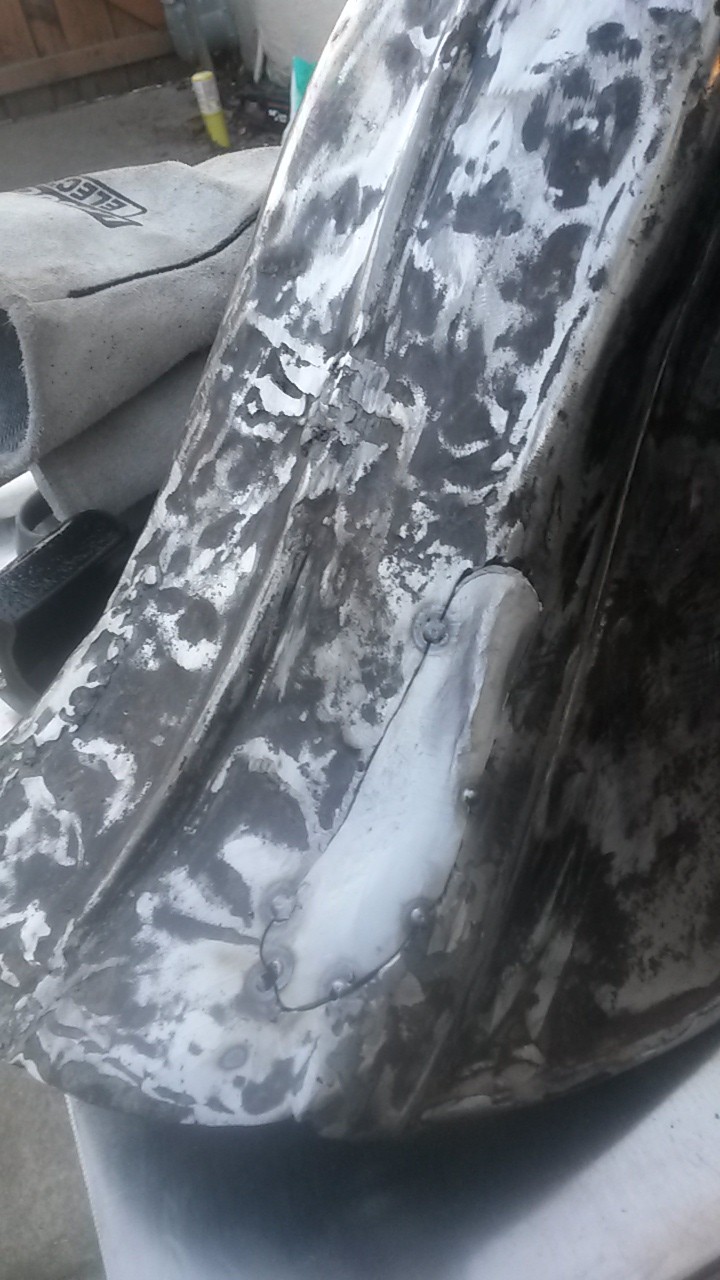
The rivets and bracket were gone and the rivets apparently ripped out. Sheet metal had been laid on top and welded lumpily into place. I attacked this one side at a time. First I cut out the old repair using a cutting wheel on the angle grinder, then used a grinding head on the Dremel to smooth the hole back to sound metal.
This left a kidney bean shaped hole which curved on three directions as it was at the side and at the point where the curve of the guard reverses into the valance. I deliberately did not follow a lumpy weld to the tail end as I did not want to inadvertantly make the guard wider.
I then did some light work with the dollies and planishing hammers to smooth the metal around the hole.
My favored template material is cereal packet as it is cheap and malleable. After some tearing and smooshing I was able to get it to conform to this weird contour, marked it up with pencil and transferred the shape to new 22 guage sheet metal.
With this cut out I approximated the contour using the hammers with one of the dollies as an anvil.
I fitted the patch into the hole and made the first tack where it lined up best. I then tweaked the next best spot into line with the hammer and dolly and tacked, then repeated all the way round.
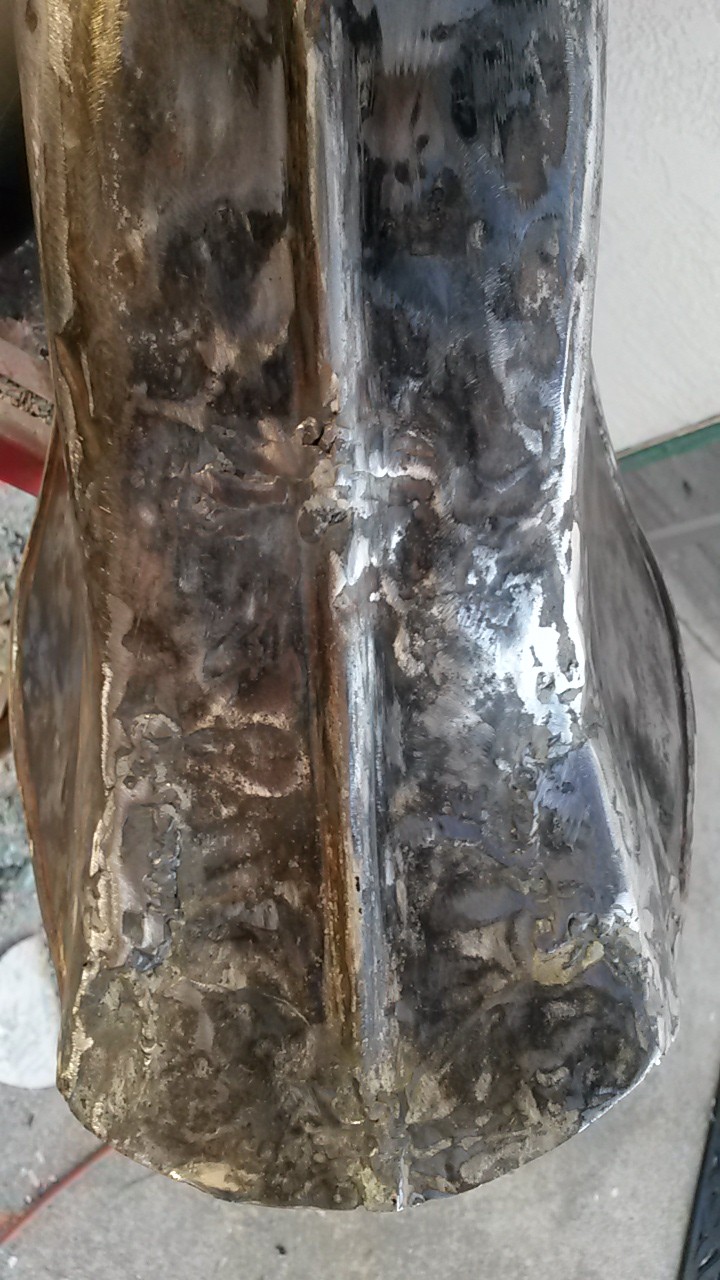
Once this was done I ground out the lumpy weld at the back, smoothed it out and welded it back up.
Finally I stitch welded up the rest of the patch.
I did get some burn-through which I had to lumpily weld back up. While grinding that back down with the flap-wheel I hit a nearby high point and needed to weld that up too. Alternating between flap-wheel and dollies seems to be the best approach. Take it slow. I tried a copper heat-sink (vintage soldering iron) to reduce burn-through, which may have helped some.
After sanding front and rear I now have a nearly consistent metal thickness in these areas, though there are still a few pinholes.
I did find that the cheap generic auto body dollies are not going to be much use for smoothing the rest of the guard as the are not a good profile match.
So I decided to make my own….
