I decided to make an SMD reflow oven from a toaster oven I found abandoned in my garage. There are many excellent build guides already on the web, so I’m not going to replicate them here, I’ll include links below. I did see some improvements I thought I could make on insulation and I’ll describe those here.
The basis for the build is the excellent Controleo2 build guide at whizoo.com, which uses an almost identical base model Black & Decker oven. I plan to use the software from the Controleo2 as a starting point, but source my own components for the build partly because I’m cheap but mostly because I like DIY. The Controleo2 is purpose built and comes complete with case. The cost savings of DIY are minor – negative if you count your time. The Whizoo folk seem to have put the most effort into their product and website of the various options out there. Remembering my thermodynamics from college, their emphasis on insulation and using a heat conductive shelf (aluminum) for the boards gave me a good feeling that they really know what they are talking about.
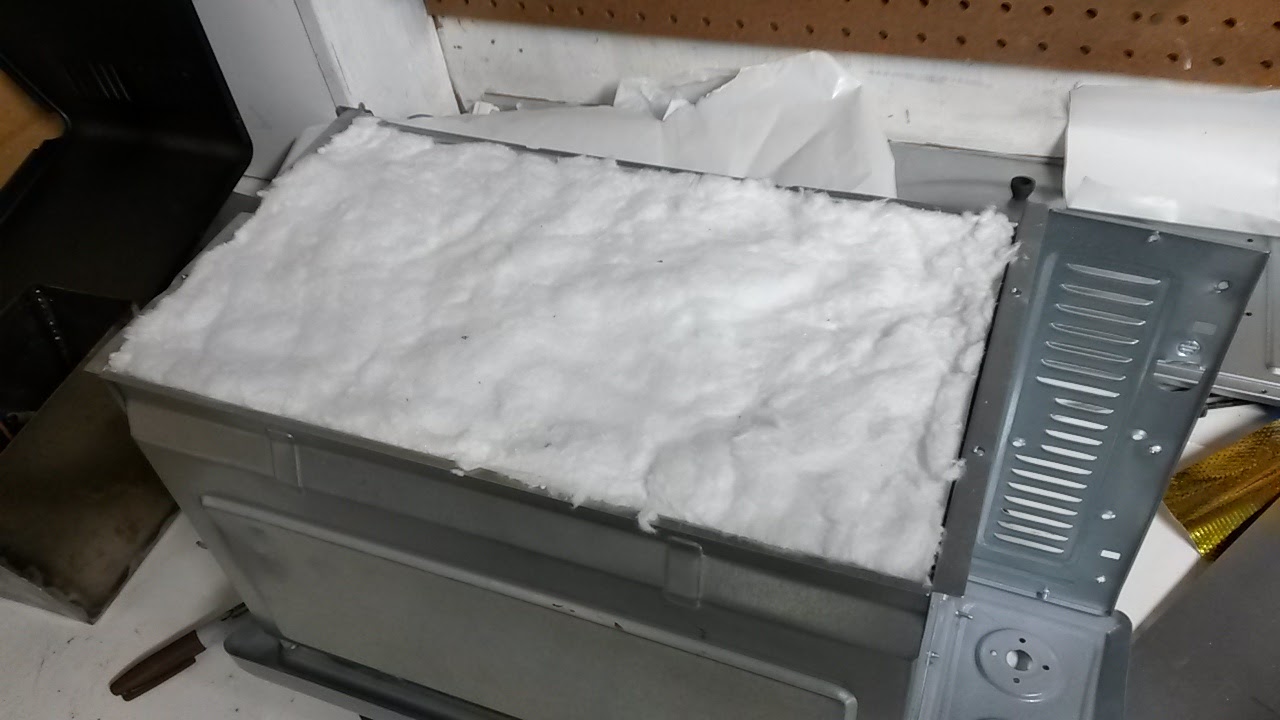
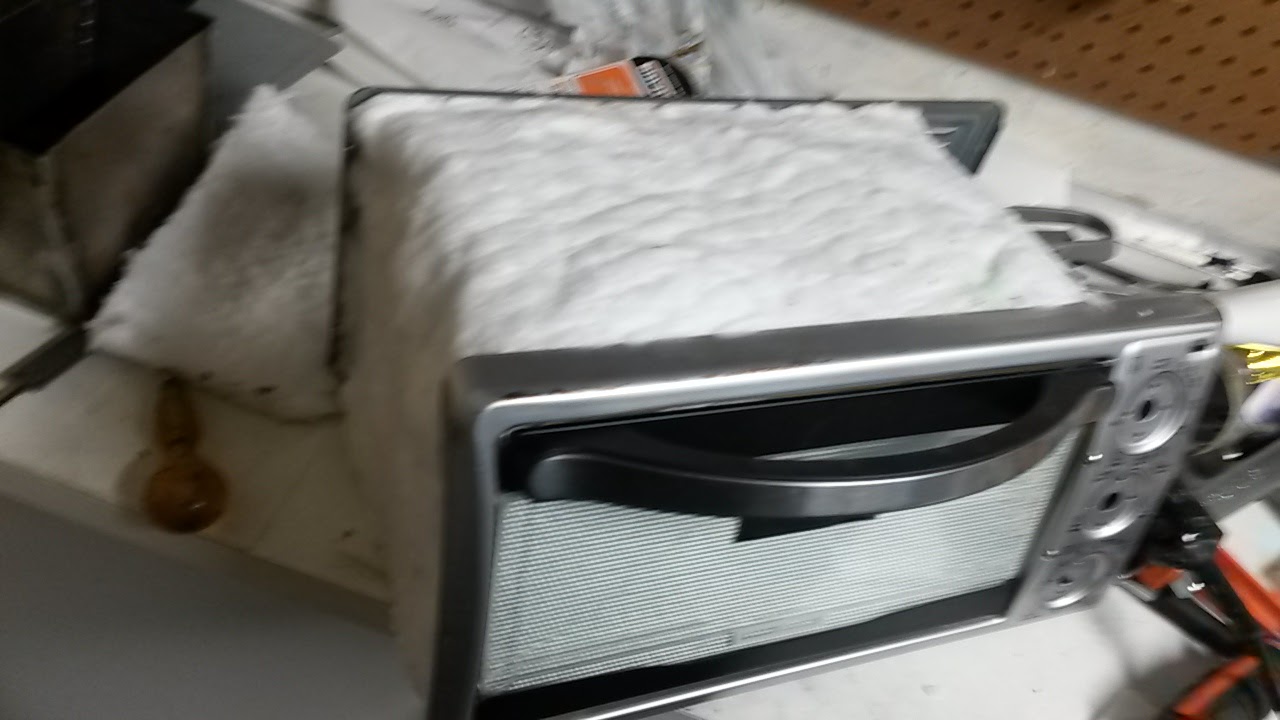
Several other builders have used welding blanket as additional insulation. I don’t like this idea as welding blanket is primarily meant to prevent weld spatter, not to insulate constant radiant heat. The right product for this is ceramic wool insulation. I acquired a 24″ square 1/2″ thick chunk of this from builderbuddies.com on eBay who sell it for use in wood-burning stoves. This stuff is like fiberglass insulation in texture and causes similar skin irritation, and you don’t want to breath it either, so I wanted to wear gloves and keep it isolated from the electronics compartment in the toaster. It cuts easily with my big tin snips. As with all hazardous materials – read up on it and use appropriate precautions.
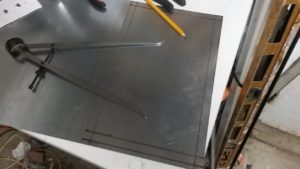
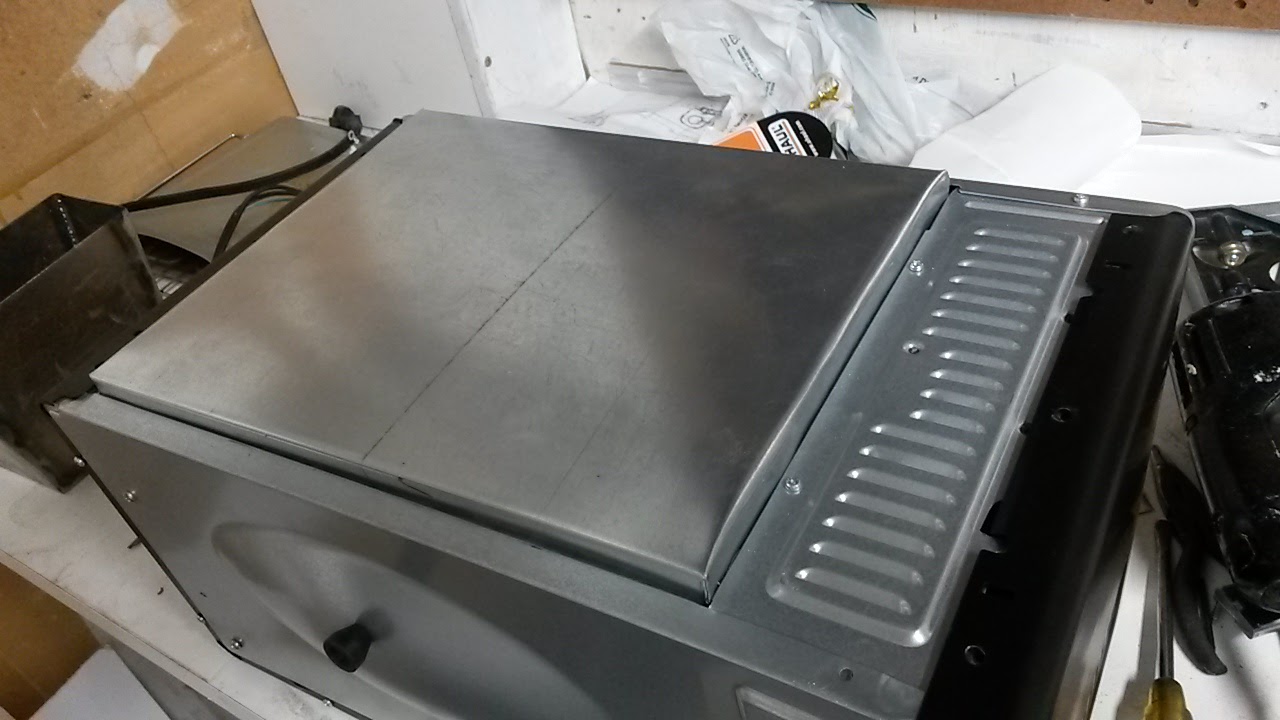
I made 3 custom steel panels to hold the wool in place. All are made from a single 12″ x 24″ 22g galvanized steel sheet from the local hardware store. This material is almost identical to the internal parts of the oven.
The panel for the the rear is held in by two screws at each side. It is necessary to take the back panel off the oven to get this in. It has flaps top and bottom that lie flush with the oven panels.
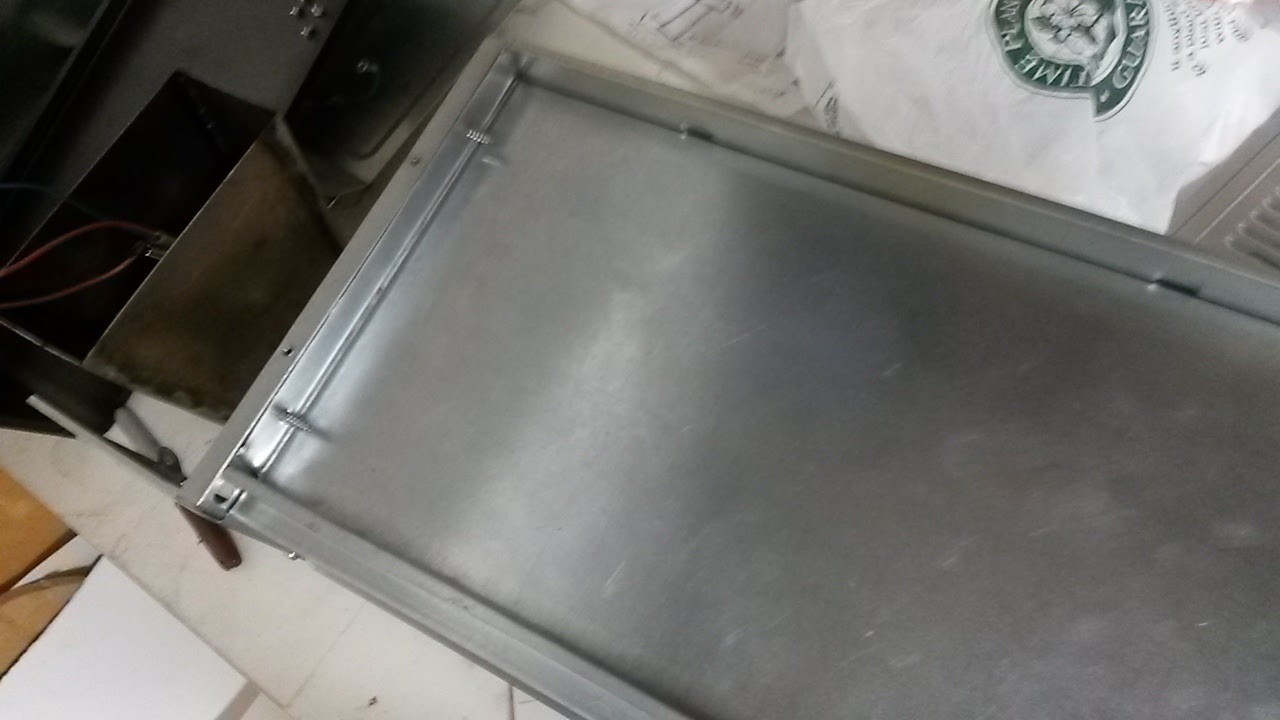
I have a small bender which helps with some of this sheet metal fabrication, but I had to do some of the bends with the edge of the bench, a piece of steel bar and a planishing hammer, and you could use these tools for all of the bends.
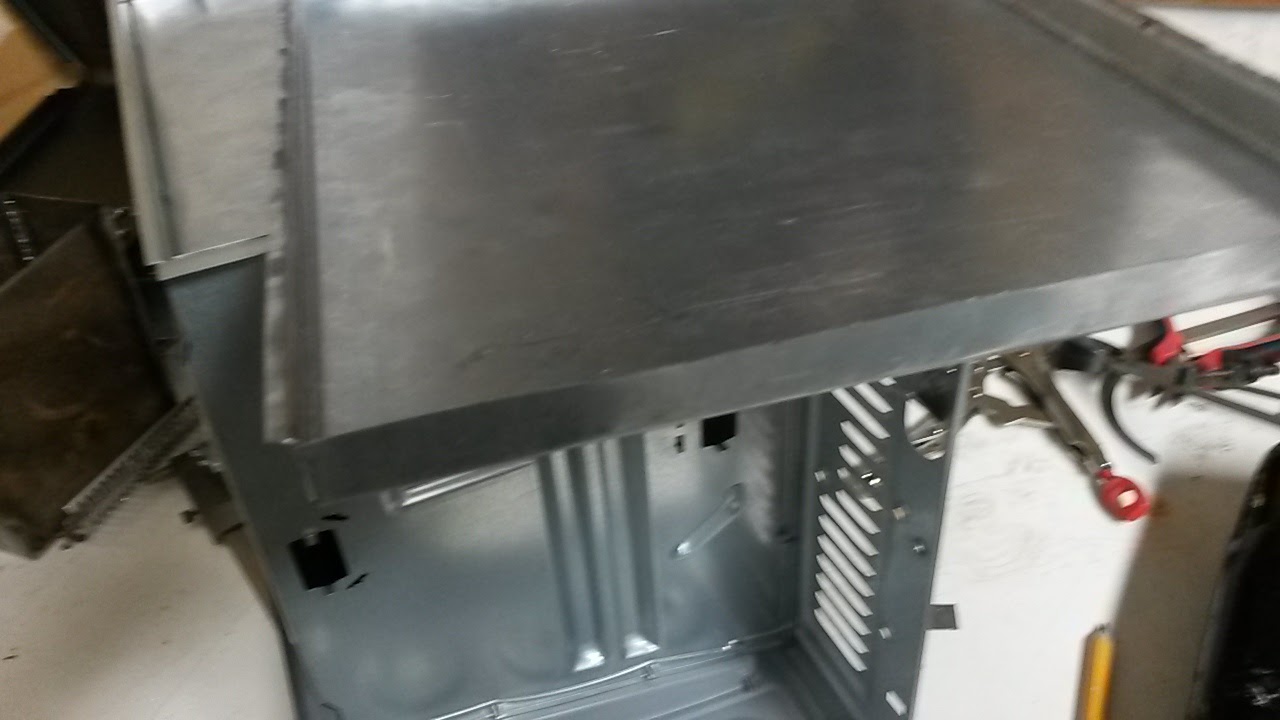
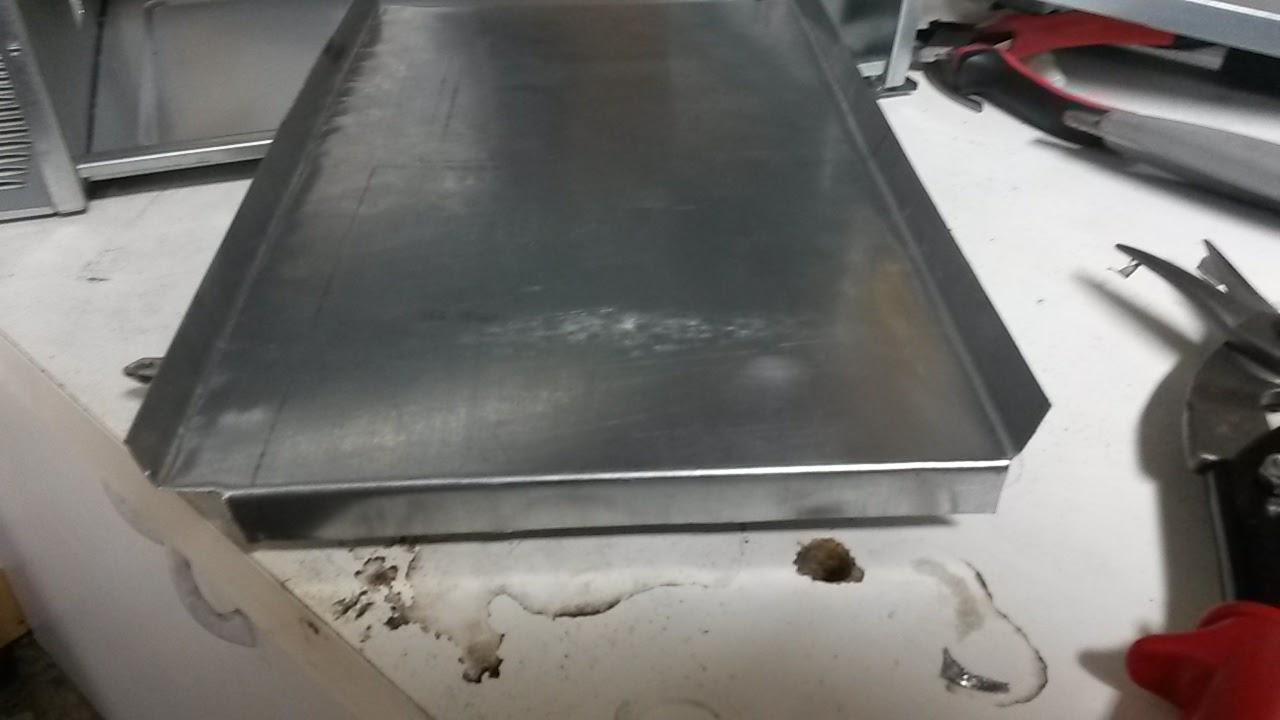
The bottom panel is a flat box with 1/8″ tabs along the front and rear. It clips into place. Both of these take a rectangle of the ceramic wool. As they are 1/2″ deep the wool is not compressed which should give optimal insulation.
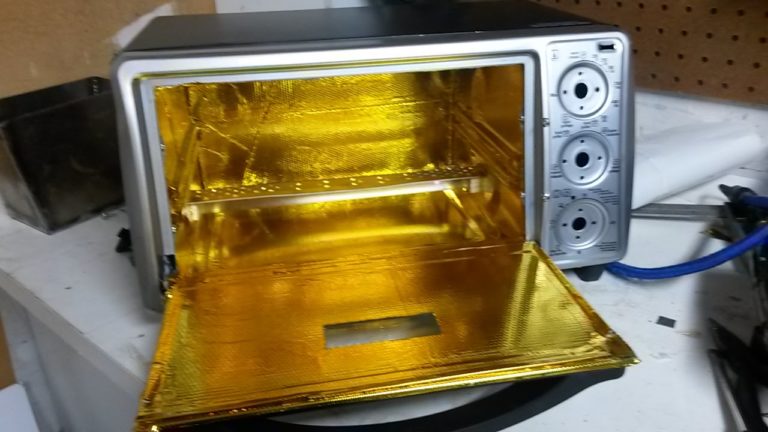
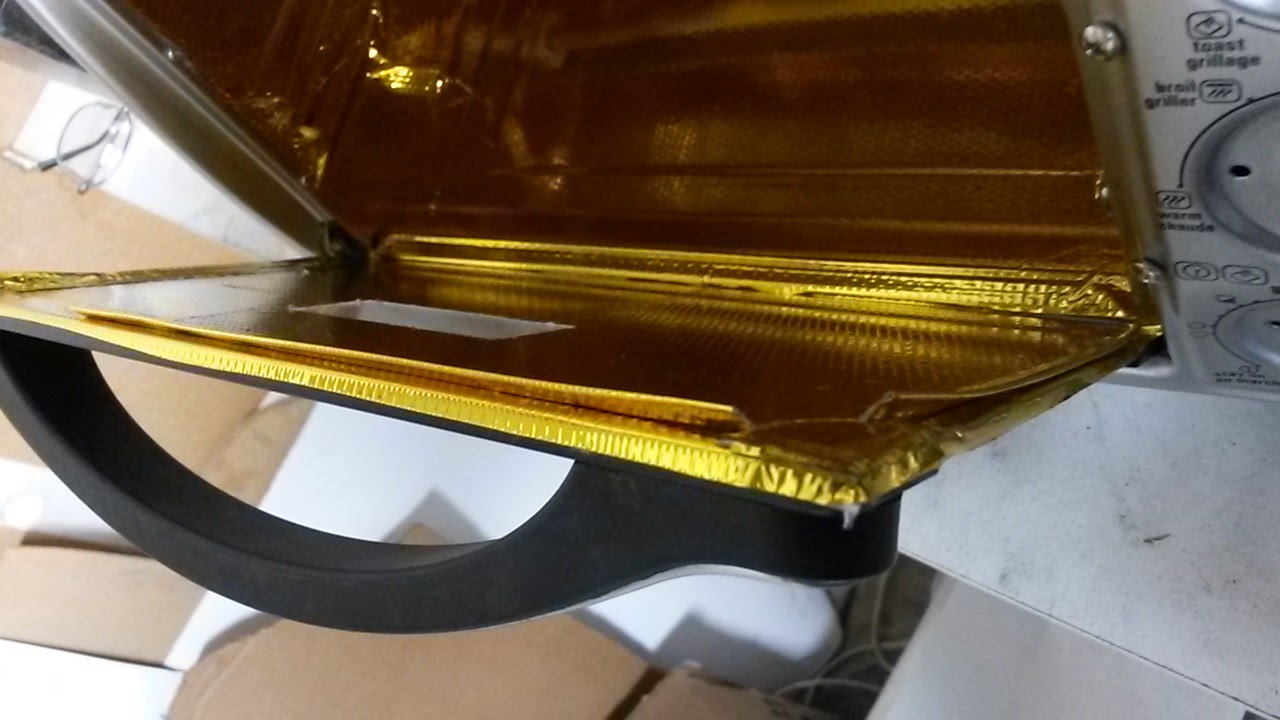
Whizoo recommend the Reflect-A-Gold tape as primary insulation. I purchased the 24″ square sheet option as it gives more square inches for the same money, and I figured with the oven mostly dismantled it would be easy to apply. This worked out pretty well, and the extra product came in handy.
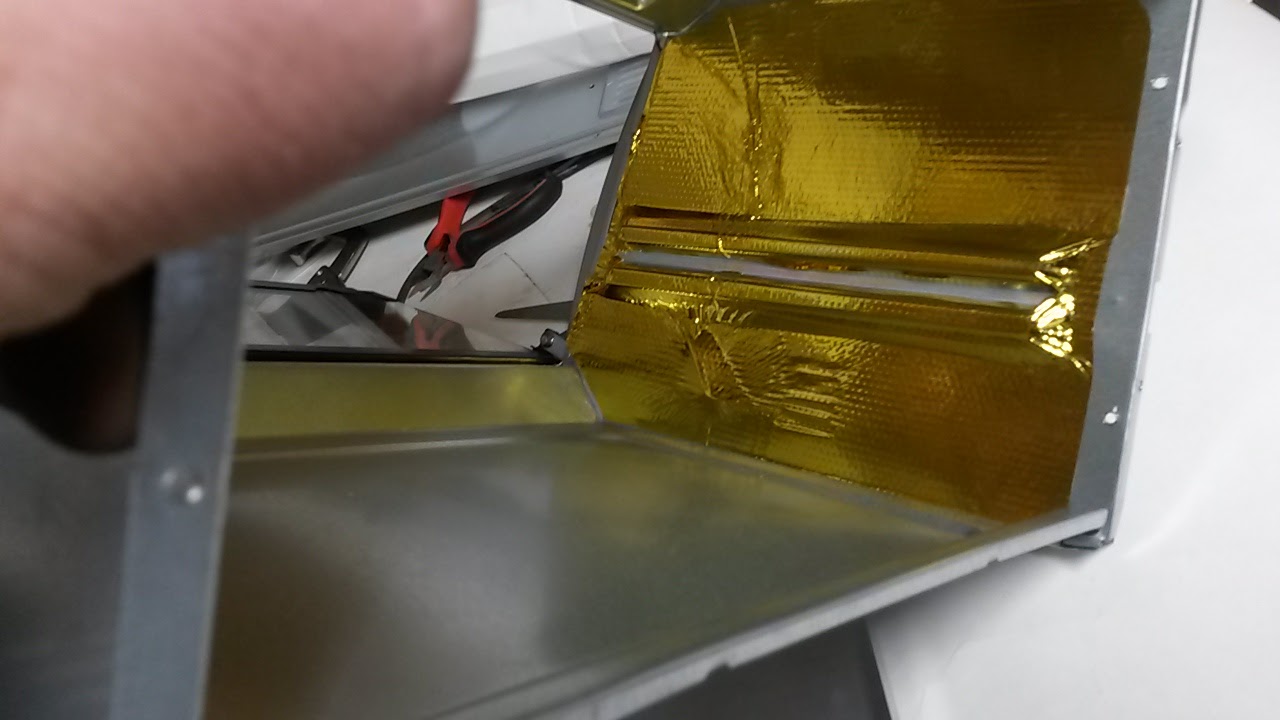
I made a paper template for the side panels and traced the shape onto the Reflect-a-Gold and cut it out. During application I slit along the tray groove with a knife rather than trying to make the tape fit there. That will be patched later. If I were doing this again I would do the Reflect-a-Gold installation on the entire interior before installing this, with a separate sheet for each oven face. As it was I tried to be too clever and do the bottom, rear and top in one go and got some crinkles.

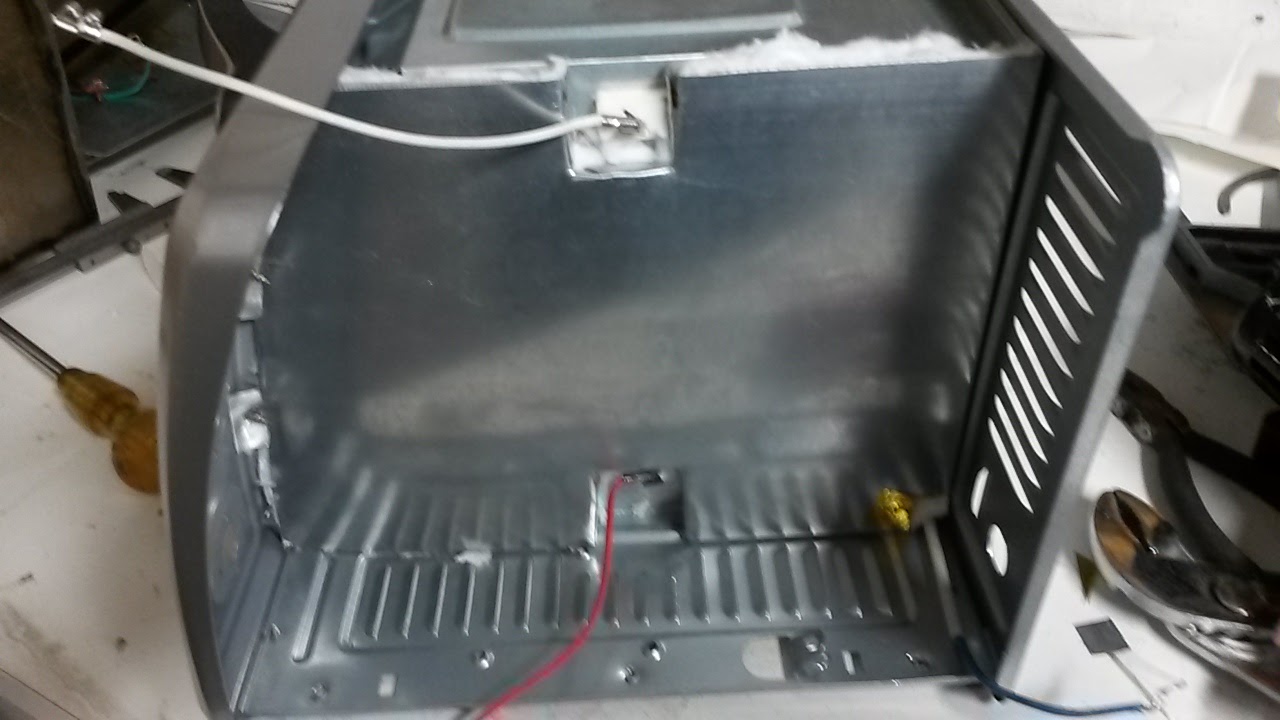
I really want to keep heat out of the electronics compartment, so I made up a panel to encapsulate a sheet of wool and applied Reflect-a-Gold to the hot side for good measure. This is held on by the two rear panel screws and two additional screws at the front. The original sheet metal screws are tiny and rarely seem to work a second time, so I am replacing them with #6 screws as they die.
The cutouts around the elements are folded back on all three sides to help keep the ceramic wool from escaping. Finally a single wraparound blanket for the top and the other side. I used some leftover Reflect-a-Gold to tie down the loose end by the electronics compartment. This was wasteful – Kapton would have been better but I don’t have any.
There is only 0.3″ space between the top panels so the top wool is compressed a bit, but that can’t be helped. As another builder has noted you need to remove some extra metal from the front of the top cover or the insulation makes it impossible to install the cover.
The bottom panel installs with another blanket and clips into place. With the feet installed this is still well clear of the tabletop.
I am now insulated well on 5 sides so my biggest leak will be the door, both through conduction and by air leaks, particularly as the door does not close quite evenly.
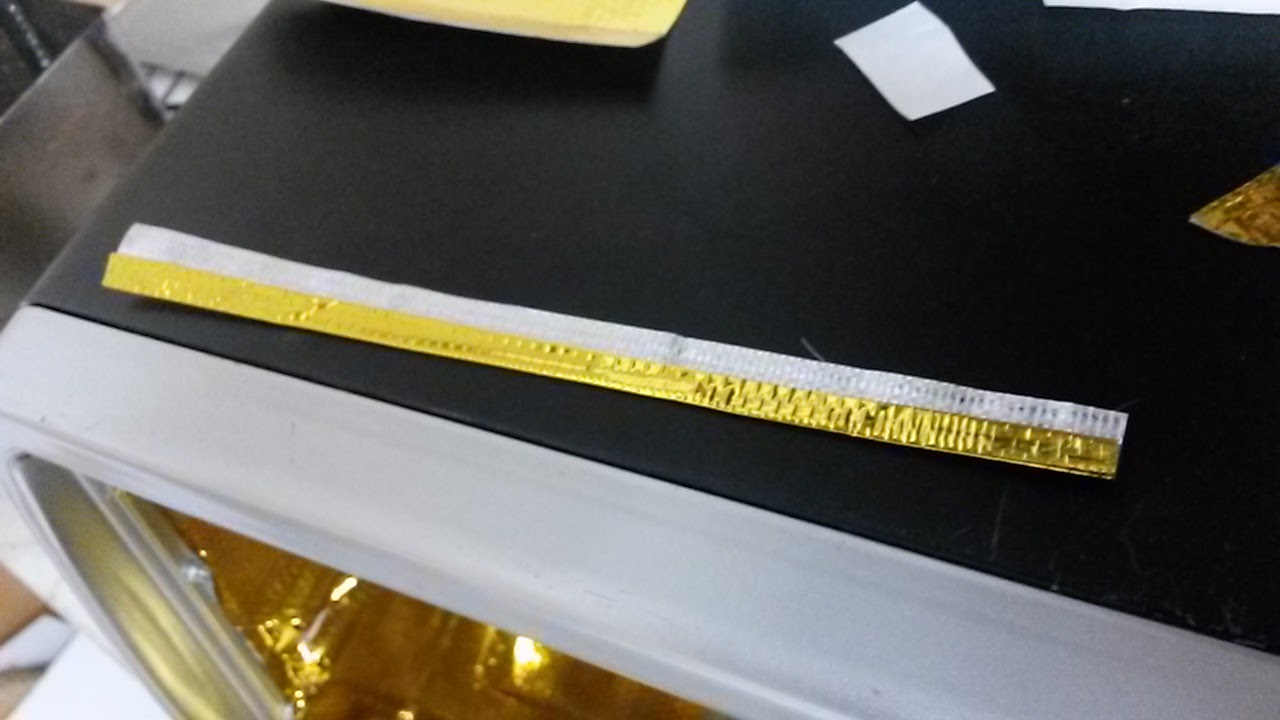
I don’t have a fix for the conduction (yet) but I fiddled around with the leftover Reflect-a-Gold and came up with these flaps for the edge of the door. They are just bits of tape folded length-ways with a little tab left over. They have just enough spring in them to close the gap between the door and the frame.
I installed these all the way around the door, except at the bottom edge which I just taped over on the inside. The tape has enough flex that it does not effect the hinge operation.
After taping up some internal gaps, I used every inch of my Reflect-a-Gold.
I am now a proud owner of a golden toaster oven!
Lessons learned/tips/thoughts (some of which have been stated by other builders):
- Take out the elements and the shields over them before installing Reflect-a-Gold. You need to bend the shields to get them in and out, but they bend back. Working the tape around the elements is just pain for no reason.
- Whizoo specify Boom Mat for the bottom surface, I think because the third element generates a more concentrated heat which can burn the Reflect-a-Gold. I’m going to go with an aluminum shield under that element to address that problem. Boom mat is expensive!
- The original sheet metal screws are crap. Buy a packet of #6 screws.
- Clean off metal surfaces with alcohol before applying Reflect-a-Gold.
- Don’t waste Reflect-a-Gold! Use other heat-proof tape (Kapton?) in places that don’t need the reflective magic.
- Use a bungee cord to hold the the door open when taping inside the oven – or you will go nuts.
- Cut sheet metal is sharp – including the original oven components.
- Read everybody else’s build guides and watch their videos before you start.
Recommended reading and viewing:
Two of the best Youtube videos I found for the Controleo2 build. These both use the welding blanket insulation.