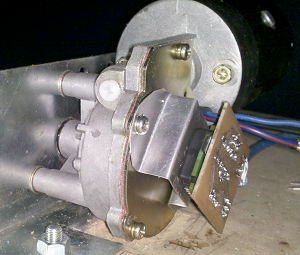
 Wiper motors are big, cheap and powerful. Lots of torque. They are great for powering large robotic components. Out of the box – or scrapyard – they do need some modification. They are wired to go in one direction only, with two speeds. They have some position switching in them, which is designed to keep them running until they reach their “park” spot, which is not very useful for most robot applications.
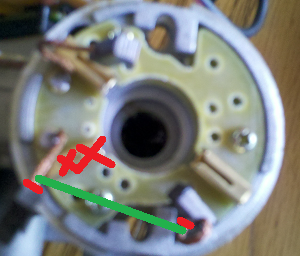 First we need to make the motor run both ways. The two wires that go into the motor are the “normal” speed wire and the “fast” speed wire. The casing is earth. You can reverse the polarity and make the motor run backwards, but that makes the casing “live”, which means you have to mount it to an insulator – which can be a bit tricky. The way to fix this is to rewire the internals to re-purpose the “fast” wire as the “ground” wire.
Open up the motor and pull the gear assembly off – be careful not to break the brushes or get them greasy.
There are two brushes opposite each other – these are the “normal speed” and “ground” brushes. The “fast” brush is close to the “normal” brush. Each brush has some copper mesh wire coming from it.
- Cut the wire on the “fast” brush as close as possible to the brush
- Cut the wire on the “ground” brush as close as possible to the casing.
- Remove the “fast” brush with pliers and discard it.
- Tin the tips of the loose ends with solder – use just a tiny amount so the wire does not get stiff.
- Slide a short piece of heat-shrink tubing over one of the wires.
- Tack the two wires together and protect the join with the heat-shrink tubing. Make sure the brushes are free to move and the exposed parts of the wire are not going to touch the casing or the armature.
- Reassemble the motor. This is fiddly as you have to persuade the brushes into their sockets to get past the bearings and onto the commutator. Don’t force it – if it won’t go together the brushes probably need pushing in – poke around with a thin screwdriver.
I apologize for the poor quality of the picture – my camera was on the fritz. The XX is the brush to remove. The red dashes are where to cut, and the green line shows what to connect together.
The motor is now safely reversible and can be used to drive things forwards and backwards, even if it is mounted to a grounded metal frame. Speed control will by by digital control. Loss of the “fast” mode is no loss at all – that mode pulls a lot more current and will burn out your drivers or force you to buy more expensive ones.
Conversion to servo use takes a few more steps.
- Remove the cover plate from the gear assembly and remove the electric contacts and their plastic housing from it. This is not designed to come off and will require some destructive persuasion.
- Drill a hole in the cover plate where the center of the gear is.
- Drill a shallow hole to match the shaft of your sensor in the center of the gear. If you have access to a lathe then that is the easiest way to do this. The shaft is held in with a circlip.
- The sensor can then be mounted to the end of the shaft, and it’s casing held by a bracket held down with the back-plate screws.
Material I used (substitute for taste)
- Motor: Monster Guts 12VDC Wiper Motor
- I made my bracket from very thin aluminum that used to live inside a Dell laptop.
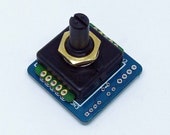
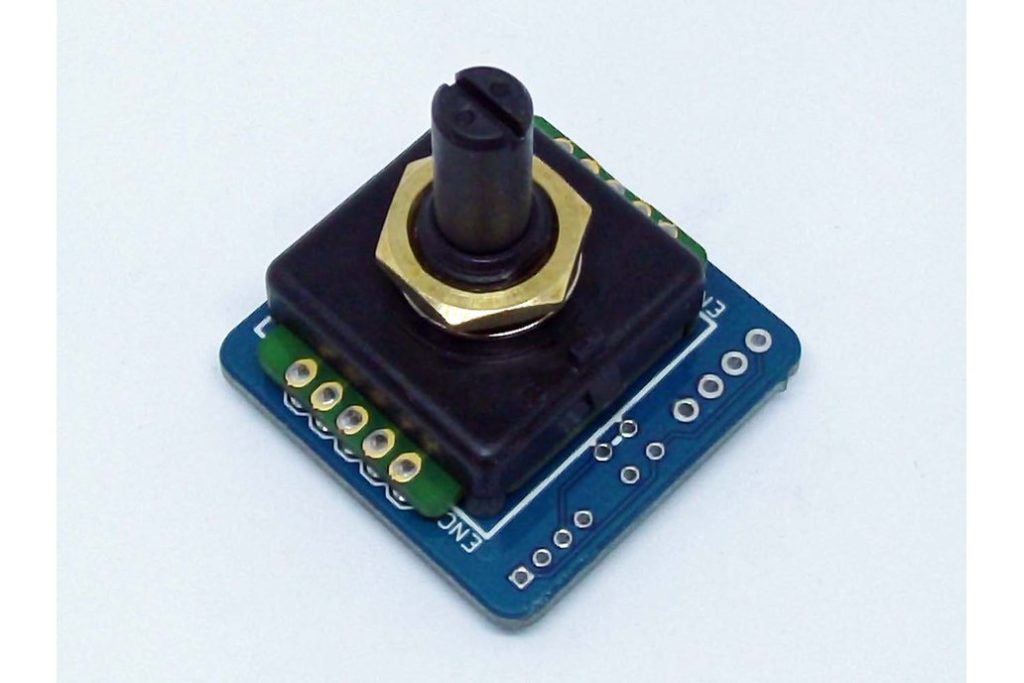
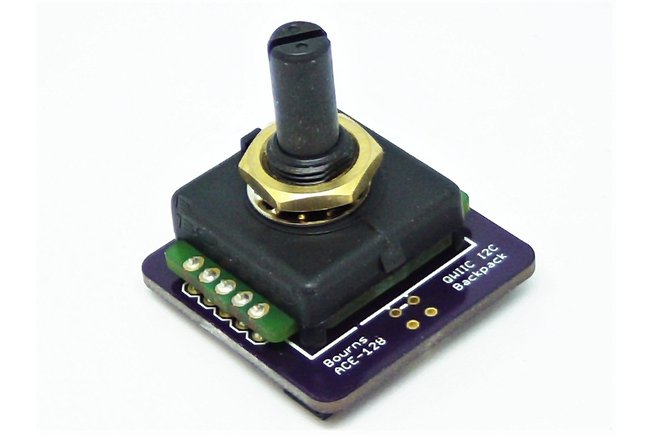
- My sensor is a Bourns 128 position absolute encoder
- Power is by cheap L298N modules off eBay, wired in parallel mode, driven by high frequency PWM from the Arduino via my Dalek Shield. These seem to be quite powerful enough to drive these motors all day long with a decent amount of load – like a Dalek head and eye.



3 Responses
Arte there any good project or application books using the BIG SERVO.
I am finding them, but they all use the small hobby type. Looking for somee backyard projects to build with kids using big SERVO and old broken RC toys
Like to repurpose the RC controller and adapte them into other fun applications, Creative mind’s is tomorrow s engineer’s, I hope.
Thanks very much for this blog/tutorial! I have two of those exact same motors, and needed to unground the housing so that they could be reversed. I’m pretty sure I would have eventually arrived at the same solution, but it was very helpful and comforting to find this webpage. My wiper-motor robot works great now.
I am in the process of building a car-seat motor robot now. Car seat motors are another inexpensive brushed DC motor, they spin quite a bit faster (around 190rpm vs 60rpm for these wiper motors), and they’re pretty powerful (though not as powerful as the wiper motors). http://www.amazon.com/dp/B005IR1NBA/ref=pe_385040_128020140_TE_3p_dp_1
Very useful instruction !, I was looking for ways to avoid the body as ground motors.
Thanks