
We want to control and program our Seeed Robot directly from a Raspberry Pi. The Seeed Hercules controller, which has an embedded Arduino compatible controller, does not have a built-in USB port. Therefore we want to bypass USB and talk serial TTL directly between the pins. The Pi will share its display and keyboard via wi-fi and will run the Arduino IDE software to program the Hercules.
This sounds simple enough, but it is not. Google turns up a lot of information on Pi GPIO – Arduino serial connectivity, but I was not able to find a straightforward guide to getting the programming part working. I was able to put together a repeatable and general solution which I will describe below. I’ll describe the Arduino UNO specifics first (bypassing USB) and then show how to adapt it to other boards that don’t have a USB.
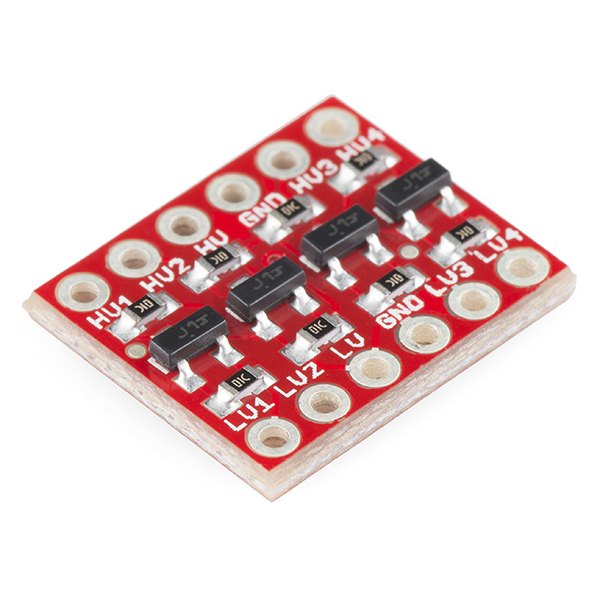
Apart from wires, you will need a logic level converter. I used the SparkFun Logic Level Converter – Bi-Directional. I got two, so I would have one for bread-boarding. This is a four channel bi-directional unit, so I plan to use two channels for serial TX/RX and the other two for I2C SCL/SDA.
The logic converter is needed as the Uno/Hercules end runs at 5V and the Pi runs at 3.3V. Driving 5V into the Pi logic pins risks damage to them. There are some articles on the web that suggest that if you are running your Pi as the I2C master, you can skip this part, but I figure that leaves you open to accidentally programming the Arduino as the master and blowing the Pi. The quad converter costs under $3 – why risk it? It is almost certainly needed for serial connection, if not for I2C.
If you are using a 3.3V Arduino, then you can skip the converter.
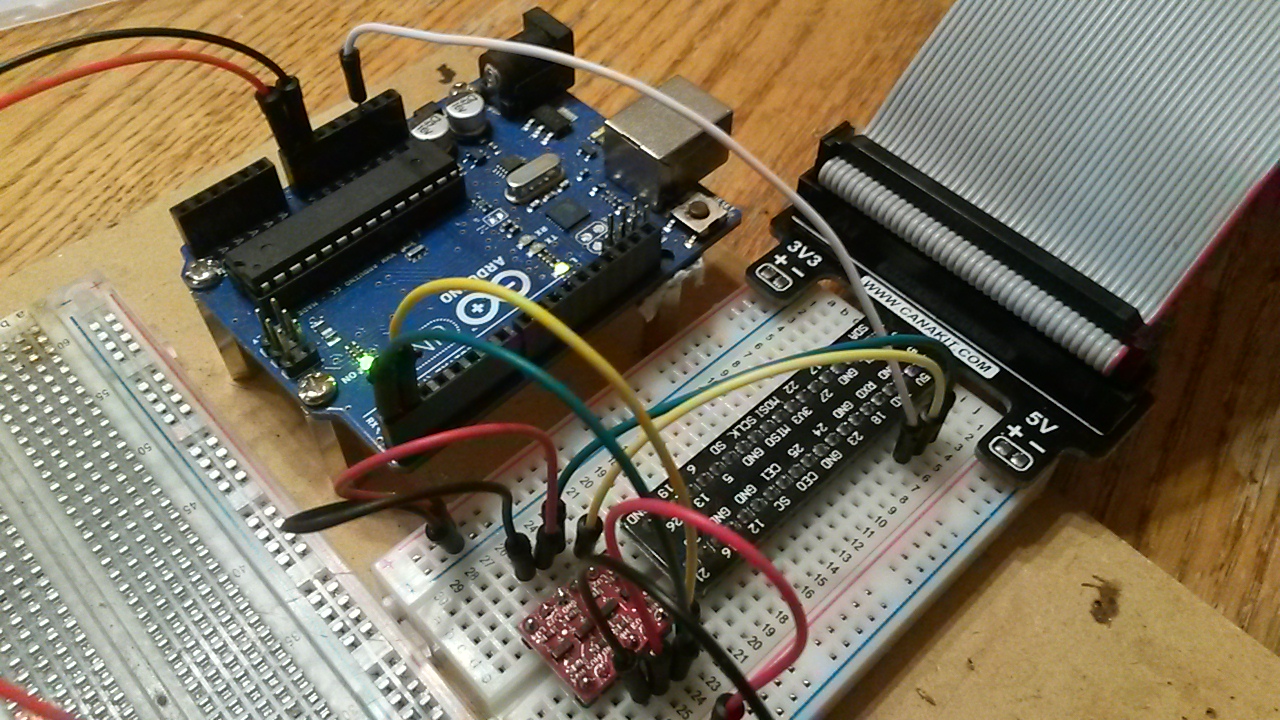
So we connect the two machines together via the logic converter, connecting TX to RX and vice-versa, GND-GND, and they should be able to talk to each other, you would think. Not yet – the Pi runs a default “getty” login prompt on the serial port which acts as the system console. This needs to be disabled.
The folks over at Wyolum have solved this, as they do what we are doing here internally on their Alamode card. They have also solved the programming problem which we’ll talk about later. We were planning to use an Alamode in the robot project until we found the Seeed controller had the Arduino part baked in. I still want one, as the basis for a CNC controller for my older model ShopTask lathe-mill-drill.
Do this on your Pi (from the Alamode User Guide)
wget https://github.com/wyolum/alamode/raw/master/bundles/alamode-setup.tar.gz
tar -xvzf alamode-setup.tar.gz
My advice is to stop here and do not run the setup script yet. It replaces some system files which you might want back. Make copies of these files, then run setup and then reboot your Pi.
sudo cp /usr/bin/avrdude /usr/bin/avrdude.bak
sudo cp /usr/share/arduino/hardware/tools/avrdude /usr/share/arduino/hardware/tools/avrdude.bak
sudo cp /usr/share/arduino/hardware/tools/avrdude.conf  /usr/share/arduino/hardware/tools/avrdude.conf.bak
sudo cp /usr/share/arduino/hardware/arduino/boards.txt  /usr/share/arduino/hardware/arduino/boards.txt.bak
sudo cp /etc/inittab /etc/inittab.bak
cd ~/alamode-setup
sudo ./setup
sudo reboot
The setup script gets the Pi serial port ready to use, replaces the “avrdude” Arduino programming tool with one modified with an extra “alamode” programming method, and adds an IDE definition for the Alamode card.
Immediately before “Uploading” a sketch, Arduino IDE resets the Arduino using the serial port DTR pin. The Pi serial port does not have a DTR pin. Wyolum’s “alamode” programming method pushes this signal through GPIO18 instead. So we need to connect the Pi GPIO18 to the Arduino RST. Unlike the signal pins, this should be safe to connect directly , as the Arduino RST pin is not a signal generator, and should never be able to push 5V to the Pi.
Many cards, including the Arduino Pro and Seeed Hercules have a DTR or DSR pin which connects to RST via a 0.1uF capacitor. This is preferred over directly connecting to the RST pin, though I found that direct connection works on my Uno.
In Arduino IDE we should now be able to select board “Alamode” and serial port “/dev/ttyS0” and push sketches to our Arduino Uno.
But I want to push sketches to my Seeed Hercules. This emulates an Arduino Pro 328p/5V/16MHz which needs different settings. Fixing this is done by editing /usr/share/arduino/hardware/arduino/boards.txt and finding the entry for the appropriate Arduino and changing the upload.protocol from arduino to alamode.
Even better, copy the section and rename the copy and put the new setting there. This keeps your ability to talk to that card type over USB. Restart Arduino IDE to pick up your changes.
Here’s the entry I added to support the Hercules:
##############################################################

pro5v328a.name=Arduino Pro or Pro Mini (5V, 16 MHz) w/ ATmega328 alamode
pro5v328a.upload.protocol=alamode
pro5v328a.upload.maximum_size=30720
pro5v328a.upload.speed=57600
pro5v328a.bootloader.low_fuses=0xFF
pro5v328a.bootloader.high_fuses=0xDA
pro5v328a.bootloader.extended_fuses=0x05
pro5v328a.bootloader.path=atmega
pro5v328a.bootloader.file=ATmegaBOOT_168_atmega328.hex
pro5v328a.bootloader.unlock_bits=0x3F
pro5v328a.bootloader.lock_bits=0x0F
pro5v328a.build.mcu=atmega328p
pro5v328a.build.f_cpu=16000000L
pro5v328a.build.core=arduino
pro5v328a.build.variant=standard

##############################################################
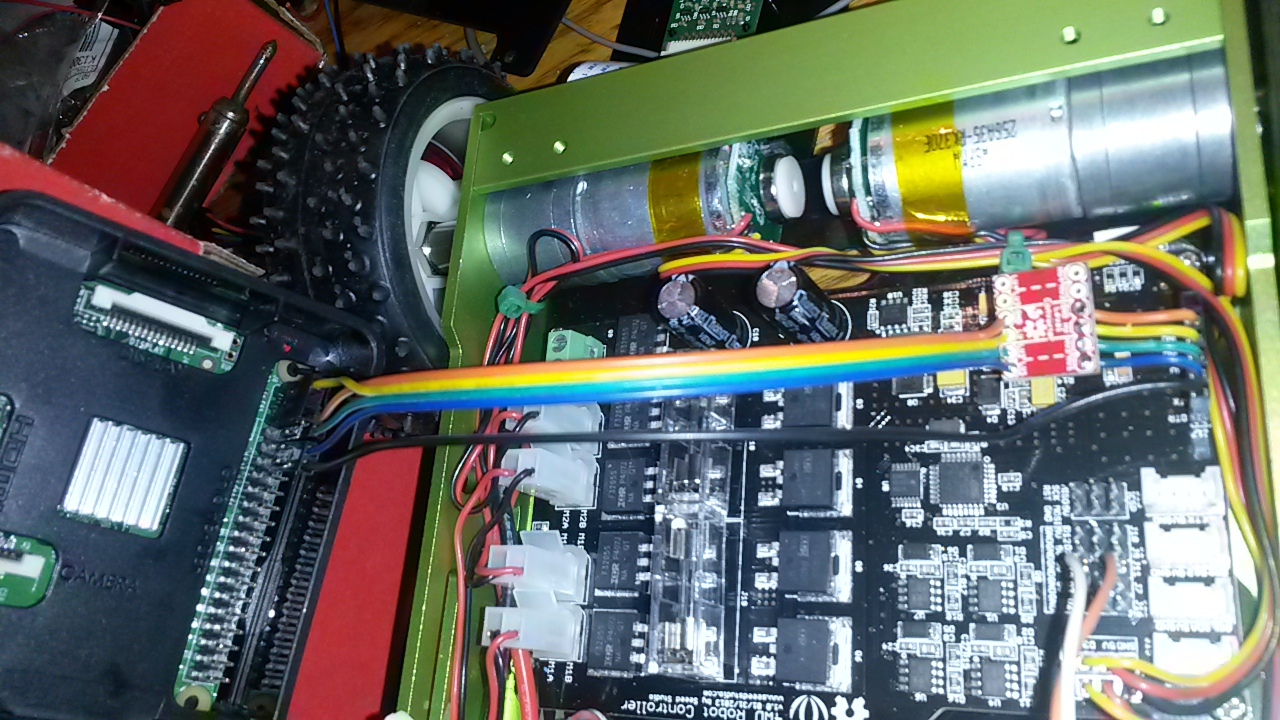
Wiring to the Hercules “programming port” is straightforward – the DTR pin on the board is the RST pin. RX, TX, 5V and GND are marked.
This method should work for any Arduino compatible which lacks a USB port. Please let me know how it goes for you or if I could add clarity to these intructions in any way..
As always with these things: this article is provided as-is no-warranty, use at your own risk.